
MATERIAL
Yarn: Scheepjes Sunkissed (100% Cotton) and Scheepjes Cotton 8 (100% Cotton)
Hook: 3 mm
SIZE
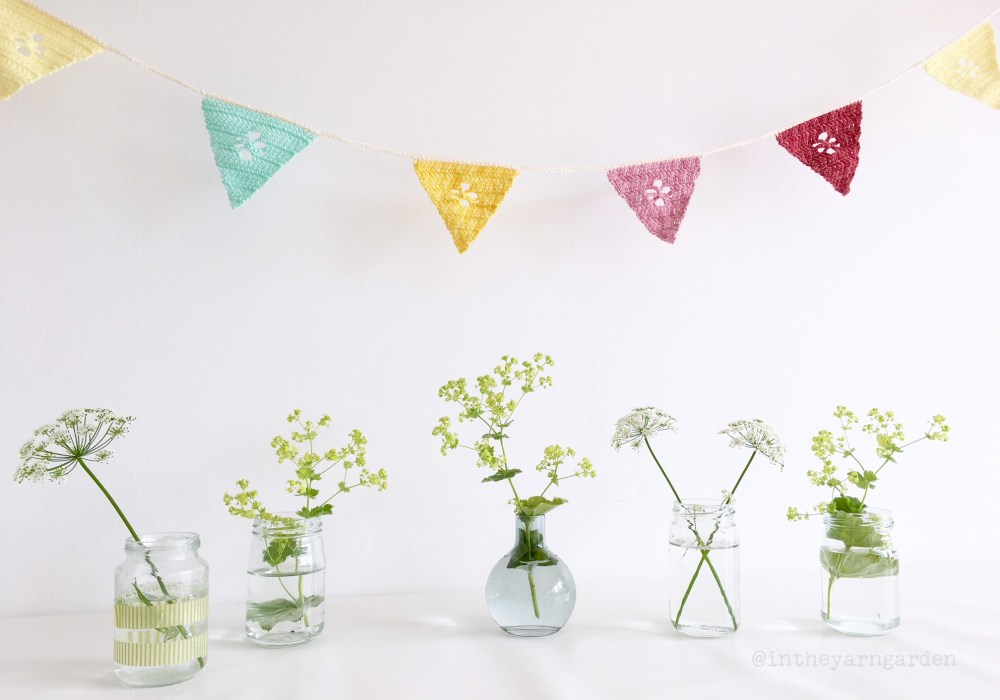
Each triangle is around 10 cm wide and 10 cm high. The whole bunting (made with 9 triangles) is around 2 m and 20 cm long.
ABBREVIATIONS, US CROCHET TERMS
ch – chain
BLO – back loop only
** – repeat instructions between stars the amount of times specified
Add this project to your Ravelry queue!
DESCRIPTION
I made 9 triangles but you could of course do as many as you want.
Turn your work after each row.
The starting ch 2 on each row does not count as a stitch.
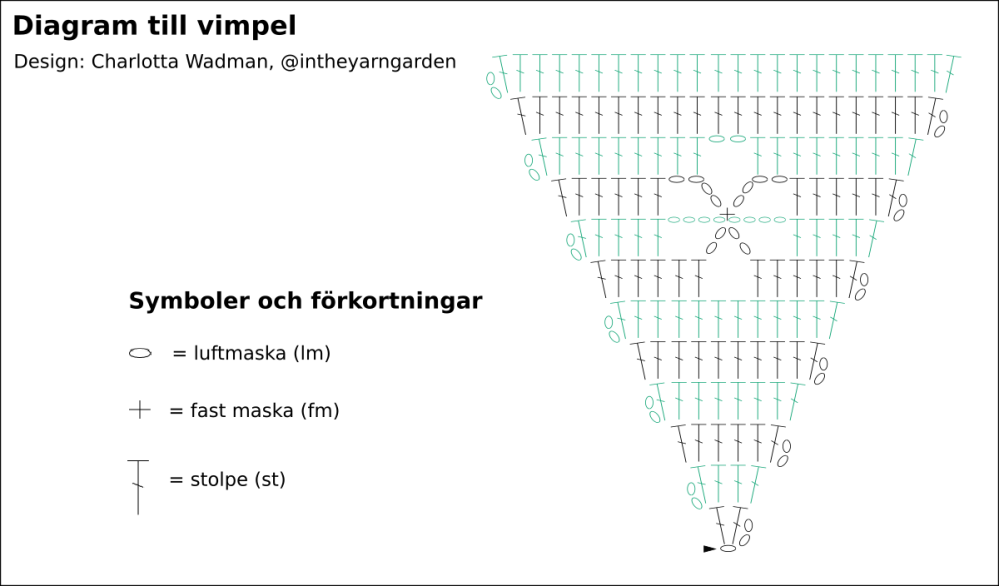
TRIANGLE
(Diagram below written description)

Row 1:
ch 3, 2 dc in 3:rd ch from hook.
Row 2-6:
ch 2, 2 dc in first st, dc in all st’s until the last, 2 dc in last st on row.
Row 7:
ch 2, 2 dc in first st, dc in next 4 st’s, ch 4, sk 2 st’s, dc in next 4 st’s, 2 dc in last st on row.
Row 8:
ch 2, 2 dc in first st, dc in next 3 st’s, ch 8, sk 2 st’s before and 2 st’s after the ch 4, dc in next 3 st’s, 2 dc in last st on row.

Row 9:
ch 2, 2 dc in first st, dc in next 4 st’s, ch 4, sc around ch 4 and ch 8 from previous rounds, ch 4, dc in next 4 st’s, 2 dc in last st on row.
Row 10:
ch 2, 2 dc in first st, dc in next 5 st’s, 2 dc in next ch-4 sp, ch 2, 2 dc in next ch-4 sp, dc in next 5 st’s, 2 dc in last st on row.
Row 11:
ch 2, 2 dc in first st, dc in next 8 st’s, 2 dc in ch-2 sp, dc in next 8 st’s, 2 dc in last st on row.
Row 12:
ch 2, 2 dc in first st, dc in all st’s until the last, 2 dc in last st on row. (You should have 24 st’s after completing row 12.)

Fasten off and weave in ends.
ASSEMBLING
My triangles are placed around 10 cm from each other along the bunting. If you want the triangles to be closer together decrease the 20 ch in the end of the repeat on row 1.Use natural color for the assembling (or any other color that you want 🙂 ).
Row 1:
Start by making 70 ch.
*Pick one of your triangles and continue by making sc’s in all 24 st’s along the top side of the triangle, ch 20* repeat * to* until no triangles are left.
Ch 71.
Row 2:
Start in 2:nd ch from hook. Make a sl st in each st until you reach the end.
Fasten off and weave in ends.


If you’ve got questions, or find any errors in this pattern, please tell me!
I put a lot of work into my patterns so if you use them and share images on social media I would be very happy if you share a link to my blog or tag your image with #intheyarngarden (or #springgardenbunting). That makes it easier for me to see your creations which I’d love to see 🙂
Happy crocheting!
© Copyright In the Yarn Garden 2017. All rights reserved.
Any redistribution or reproduction of part or all of the contents of this pattern in any form is prohibited without permission from In the Yarn Garden. You are though very welcome to link to this site. You can sell items made from my patterns, please credit In the Yarn Garden as designer. You can not use my patterns or pictures for any kind of advertising.
